Quick start
Create your organization, first project and invite your team in under 10 minutes.
Set up your workspace and onboard your entire team in just a few straightforward steps. Follow this guide to build a solid foundation.
- 1
Create your account
Sign up from the landing page using your professional email address. A secure verification link is sent right away.
- 2
Create your organization
The organization is the root container for your workspace: members, projects, billing, applications, and settings live here. You are automatically granted the Owner role.
- 3
Install core apps
Settings › Apps: enable the modules your team requires (Projects, Notes, Calendar, Messages, Automations). Only active apps are displayed to team members.
- 4
Create your first project
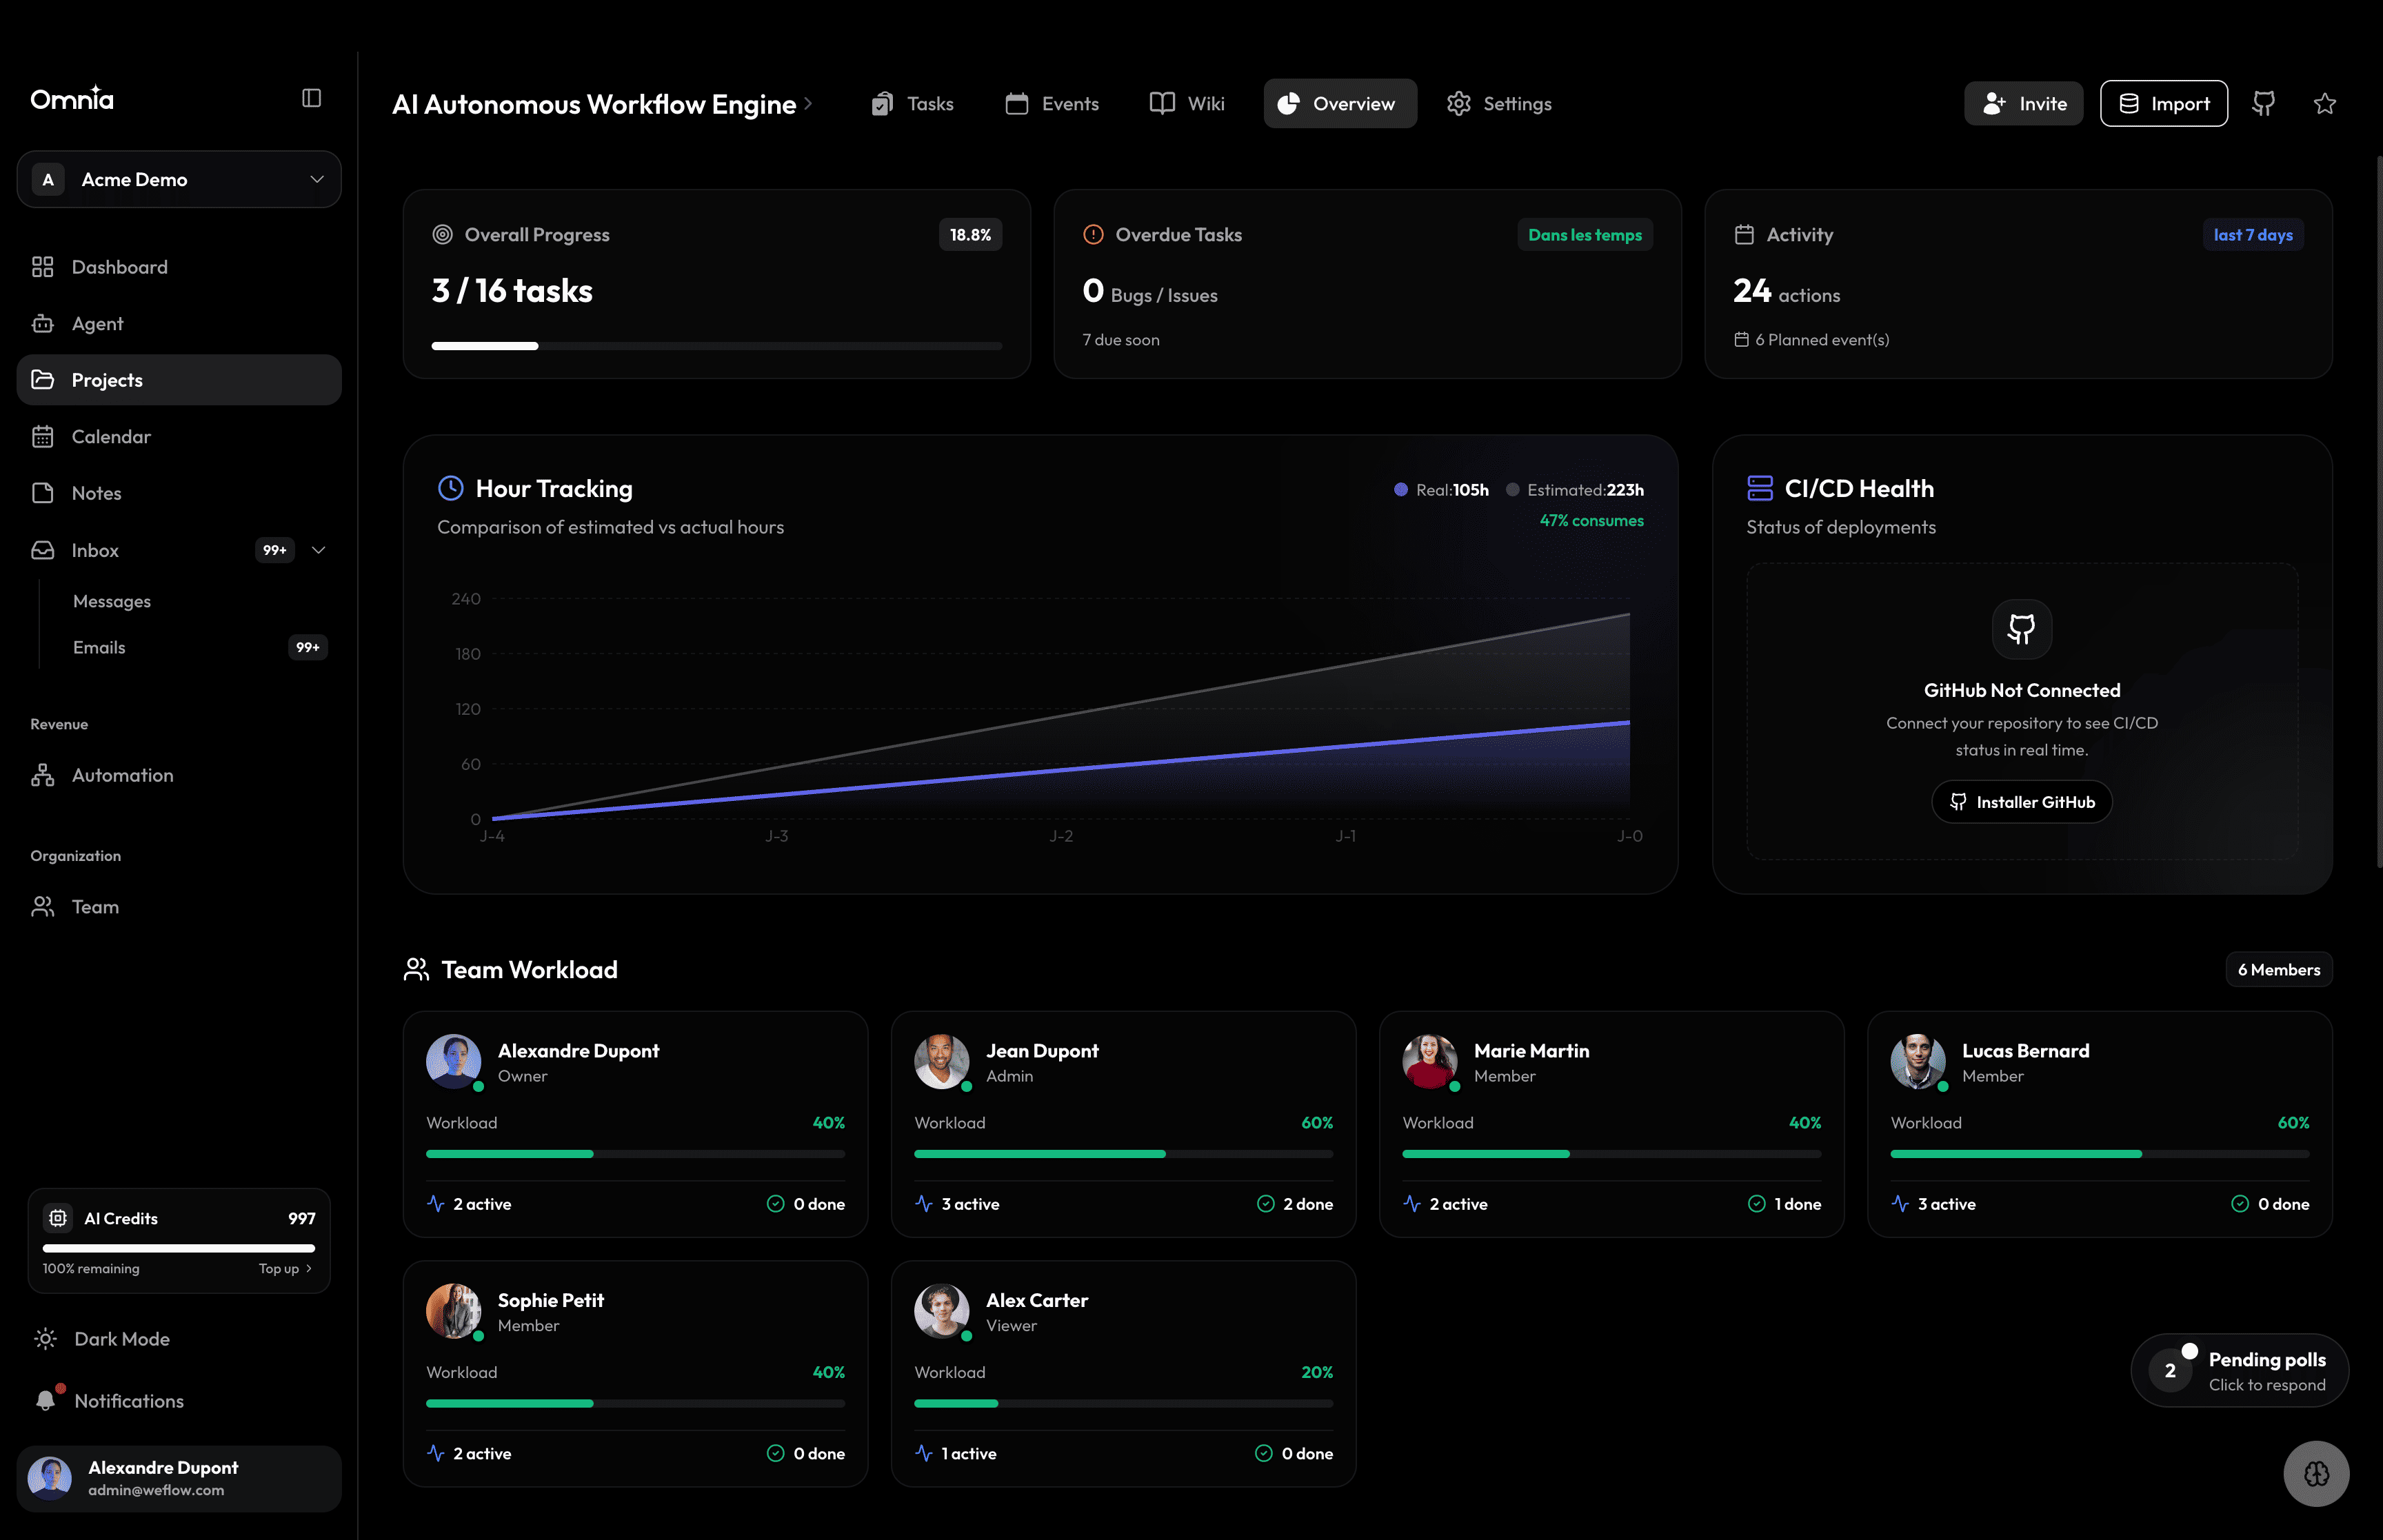
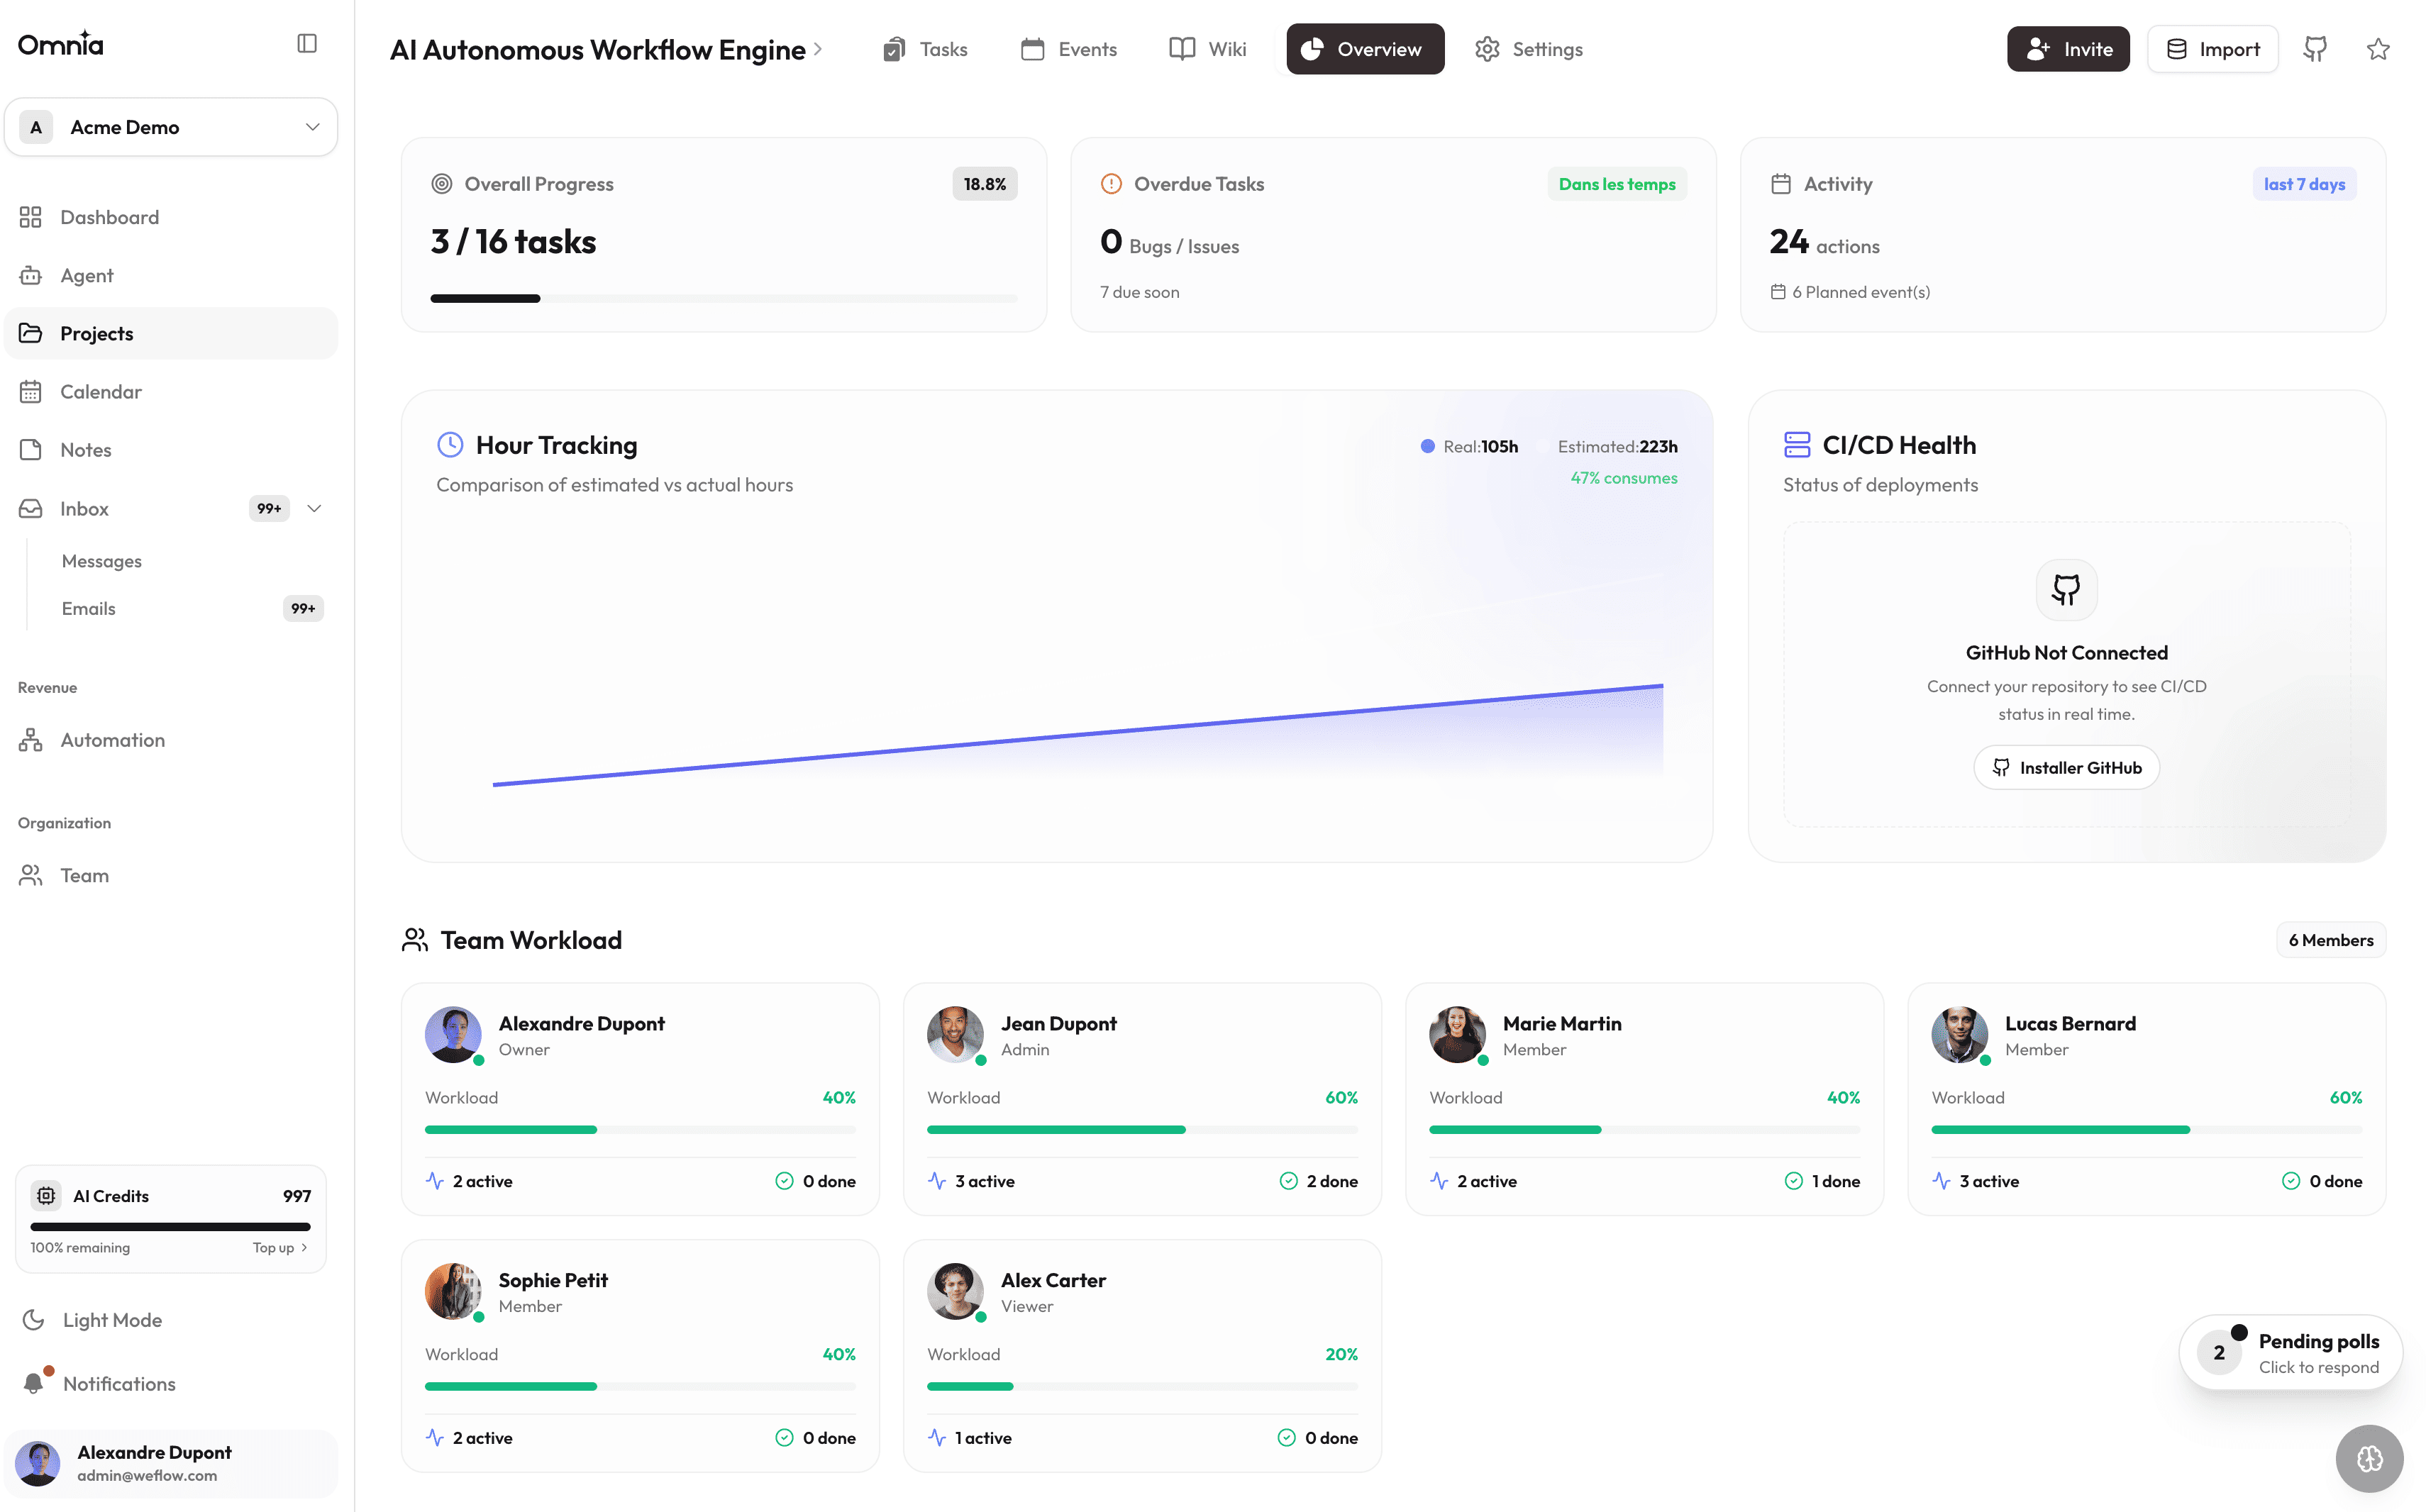
Projects › New project: select a name, color, type, and configure your delivery stages (e.g. Backlog / In progress / Review / Done).
- 5
Invite your team
Settings › Members: invite collaborators by email and assign an appropriate role (Owner, Admin, Member, Guest).
Ready for the next step?
Check out the “Roles & Permissions” guide to configure access controls across your organization.